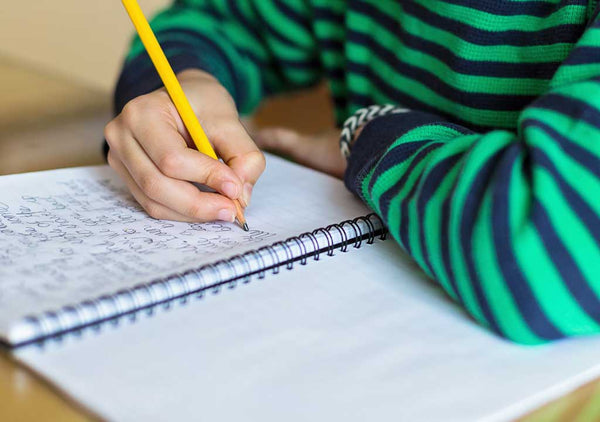
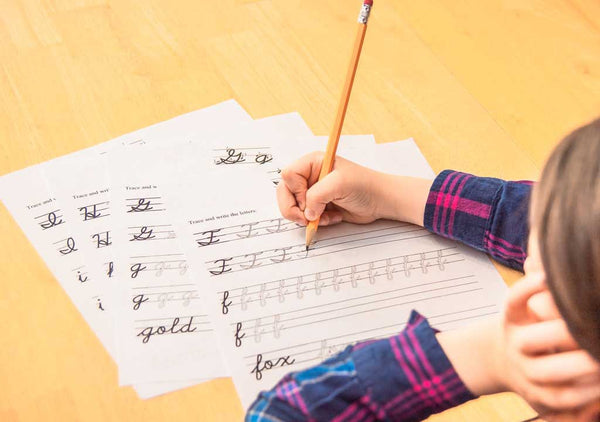
Do you remember learning cursive? It was challenging, and yet if done correctly, learning to write in cursive can be one of the most rewarding occupational therapy activities available to children.
Why Learn To Write In Cursive?
With the advent of digital communication and devices, there are some who offer objections to learning cursive. But it’s important to note that, while cursive is still (and will remain) a practical life skill with applications in business and other fields - the ability to write in cursive isn’t the only reason to learn how to write in cursive.
Cursive is a connected writing style, which some children with dysgraphia and autism find a therapeutic and beneficial style of writing.

How to Teach Cursive Writing
If you’re wondering how to teach cursive writing at home - below we outline some of the key components to stress in order to convey both the principles of the cursive alphabet and also the benefits of learning it.
Proper Writing Position
If you’re teaching how to write in cursive for beginners, the best place to start is teaching the proper writing position.
When teaching a child, this point becomes particularly crucial - because most desks and tables are built for adults to comfortably sit at. This is often something adults gloss over, but providing children with a writing desk and space not sized to them can cause them tension and pain as they attempt to compensate for the poor positioning. Equally concerning is that inattention to correcting postural, grip, or other setup needs could result in the acquisition of poor or inefficient habits that are harder to change later on. At that point, students may have also acquired a dislike of cursive writing or writing altogether
So, if you’re teaching a child how to write in cursive handwriting, make sure when they’re in their writing position:
- Their feet comfortably touch the floor. We call it the 90-90-90 position. Hips at 90 degrees. Knees at 90 degrees. Ankles at 90 degrees.
- They have room to angle their elbow out slightly (as paper is often angled when writing in cursive) This means that the desk height should be at the level of the diaphragm or slightly lower. A higher desk height requires children to elevate their shoulders, a sure-fire position for developing frozen shoulders as well as neck pain.
- They have a comfortable back rest. In fact, a lumbar support is an asset, if possible. Anything but a rounded molded chair! Those promote poor posture sitting which translates ultimately into poor posture standing.
Keys to Teaching Cursive Font
Remember, this should feel like a therapeutic activity for the child. When teaching how to write in cursive, just like teaching all things, you should:
Exercise patience
Place more emphasis on the process than the end goal
Reward effort over results
Make it fun! For example, instead of plain lines on a page, your child can learn through a cursive kaleidoscope workbook.
Start Teaching the Cursive Alphabet
Just like adults, children get easily overwhelmed when given an entire concept to master at once. Therefore, when teaching a child how to write cursive alphabet, a couple tips to keep in mind;
- Encourage flowing movements. Air writing, tracing continuous paths, and sliding one’s forearm across the paper are valuable sensory experiences for wannabe writers.
- Practice letters with similar lead-in strokes. Model the movement in forming the letter. Then have the children write that letter over and over again.
- Focus on big movements first, then let the child hone the smaller details as they get more comfortable with the movements. Use models that start large, then gradually shrink to fit into second or third grade ruling.
- Practice! There is no substitute. Research into handwriting has proven that the acquisition of a new motor skill like writing adheres to Motor Learning Theory. Constant and blocked practice, followed by random and variable practice. In other words, drill work to learn. But then the expectation to actually write in cursive during real time meangingful writing assignments. Like final drafts. Homework. Daily edits. Spelling tests. In the years following cursive instruction, request that the child signs every paper with a cursive signature and completes select assignments in cursive, too. Ensure the child is putting in practice so they better learn how to write in cursive handwriting.
Lowercase Letters in Cursive
When teaching cursive for beginners, start by teaching the letter “c”. This is a challenge letter, that reinforces the retracing stroke common in many cursive letter formations. Lowercase c, a, d, g, q, and o start with this ‘wave’ movement. In fact, we even call them WAVE letters.
Next, teach the PEAK letters. Those are the ones that appear to climb a mountain… then slide back down again. Lowercase i, u, t, j, p, r, and s are examples of PEAK letters.
SAILS are next. These are letters with big or little loops, and no retracing of the lead-in stroke. In the Size Matters Handwriting Program Cursive Kaleidoscope workbook, we minimize the likelihood of the loop becoming a fat circle by abruptly stopping it in a point at the top. Students are then instructed to draw a straight slant line back down… forming something that looks like a sail off a mast. Lowercase letters e, l, b, h, k, and f are part of this group.
Lastly are the HILL letters. No retracing here either. These letters may have one, two or three continuous HILLS and incude lowercase v, w, y, x, n, m and z.
The Cursive Kaleidoscope workbook offers lots of practice on pages marked Instruction, Practice, Roll and Review, Sense and Nonsense, and Enrichment.
Uppercase Letters in Cursive
When a child is learning cursive, it’s a good idea to make sure they’re comfortable with lowercase before moving them to uppercase. After all - most uppercase letters don’t connect, and as lowercase cursive can be viewed more as a connected writing style, uppercase involves writing what are many times standalone letters, which can pose a challenge to a child.
Cursive Writing Tips
Here’s a summary of some great cursive writing tips on how to teach cursive writing.
- Make sure the child is able to sit in a comfortable writing position.
- When a child starts learning cursive, let them start by tracing the letters.
- Teach lowercase letters first, and once they have the hang of it, start them on tracing uppercase letters.
- Practice makes perfect! At least 20 minutes a day helps cursive top-of-mind for children and can help them more rapidly improve.
- Lined paper usually makes learning cursive easier.

At Real OT Solutions, We Know the Best Way to Learn Cursive
When you’re teaching children how to write in cursive, remember to keep it fun. It can be an incredibly beneficial and therapeutic process, so it’s best if the children enjoy it.
And, if you’re looking for a creative way to make learning cursive fun, remember to check out our cursive handwriting books for children.

